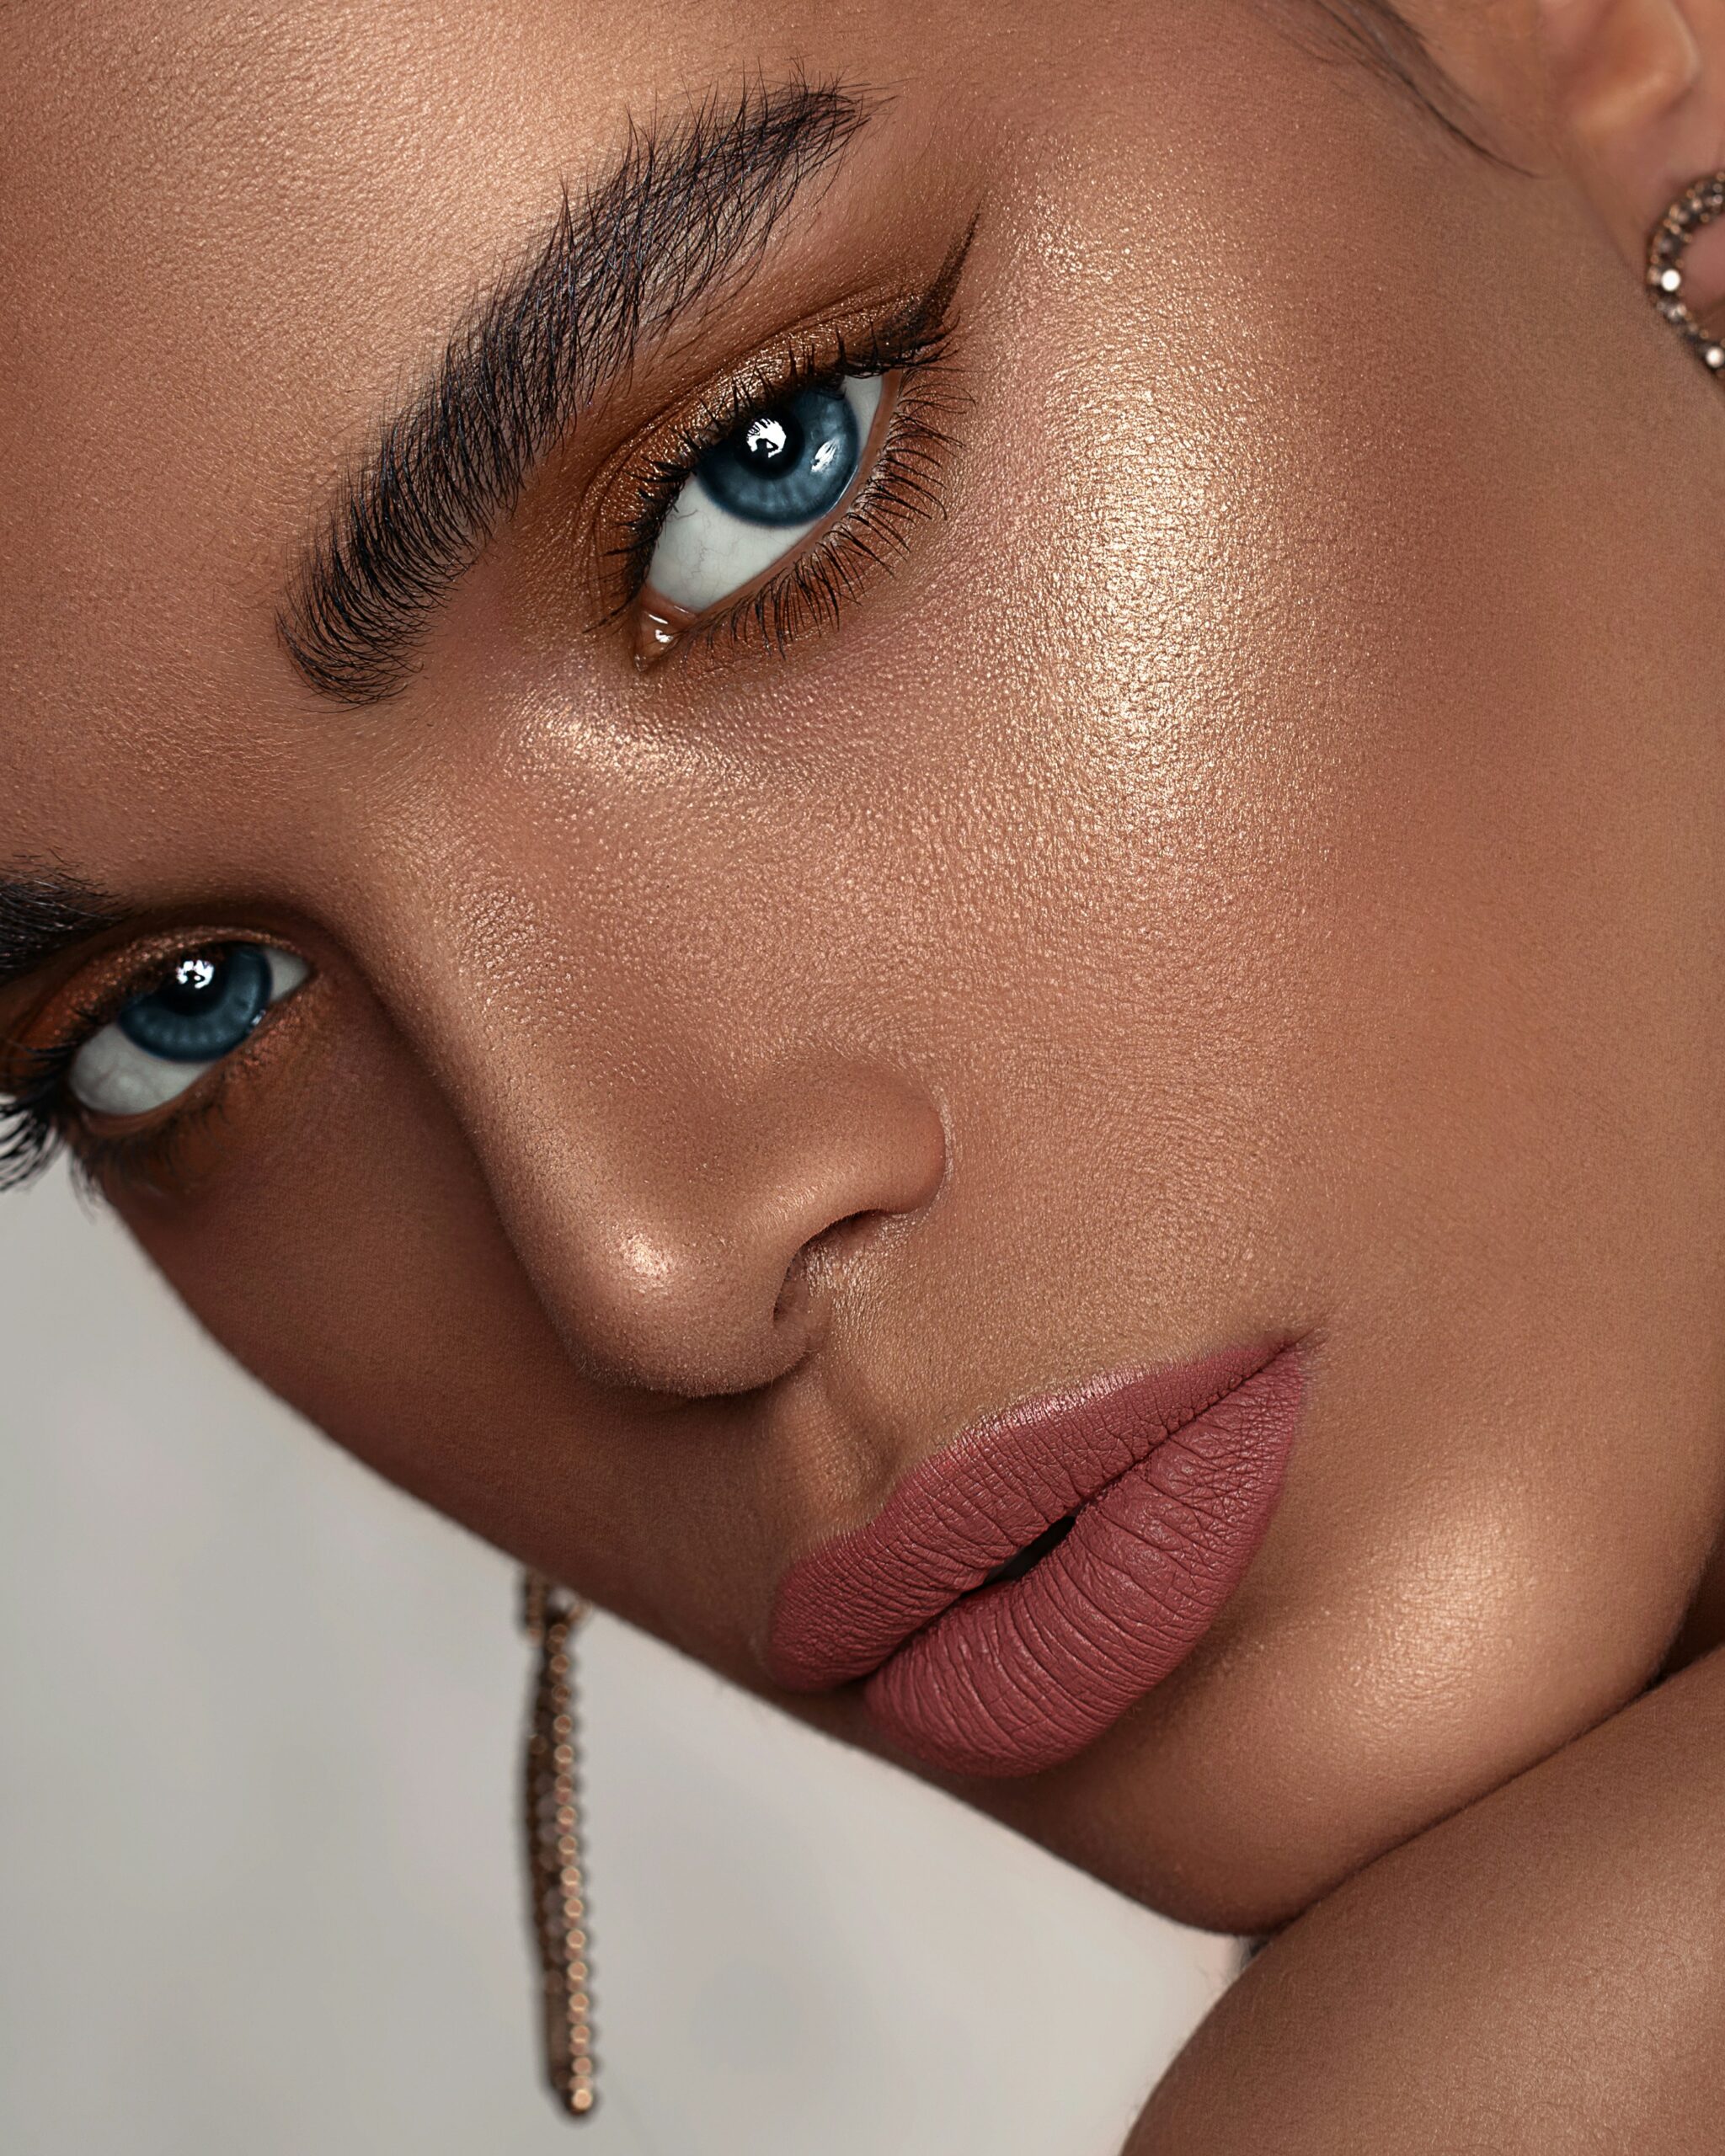
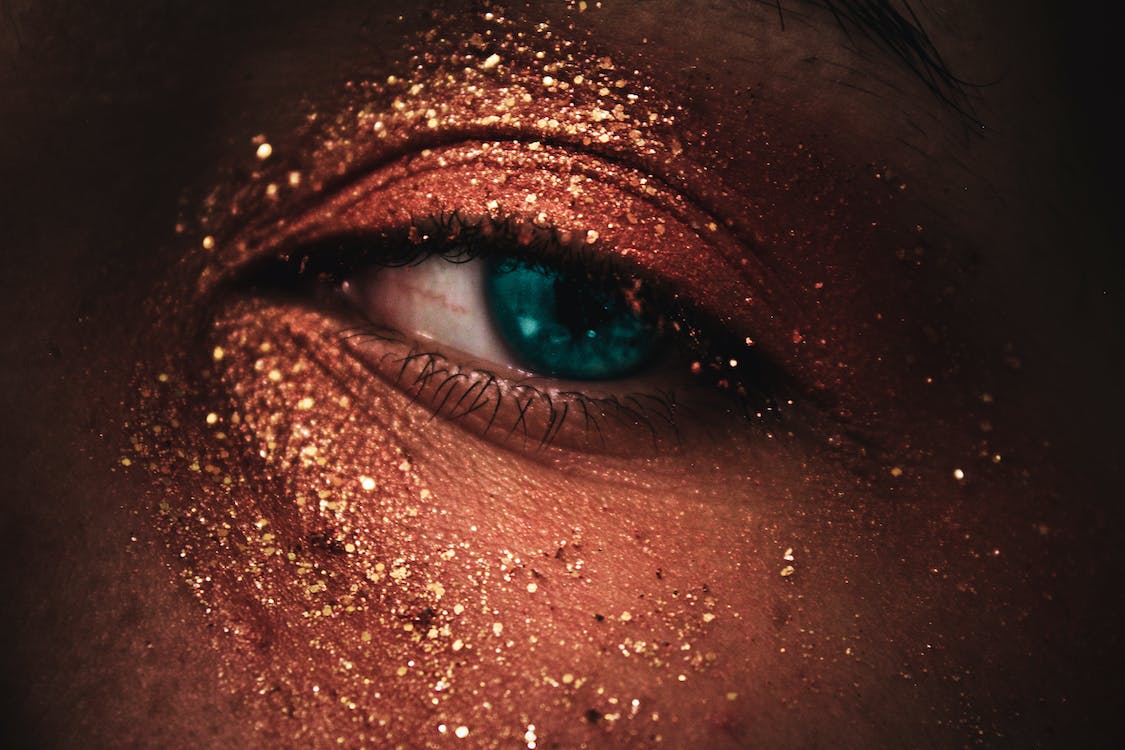
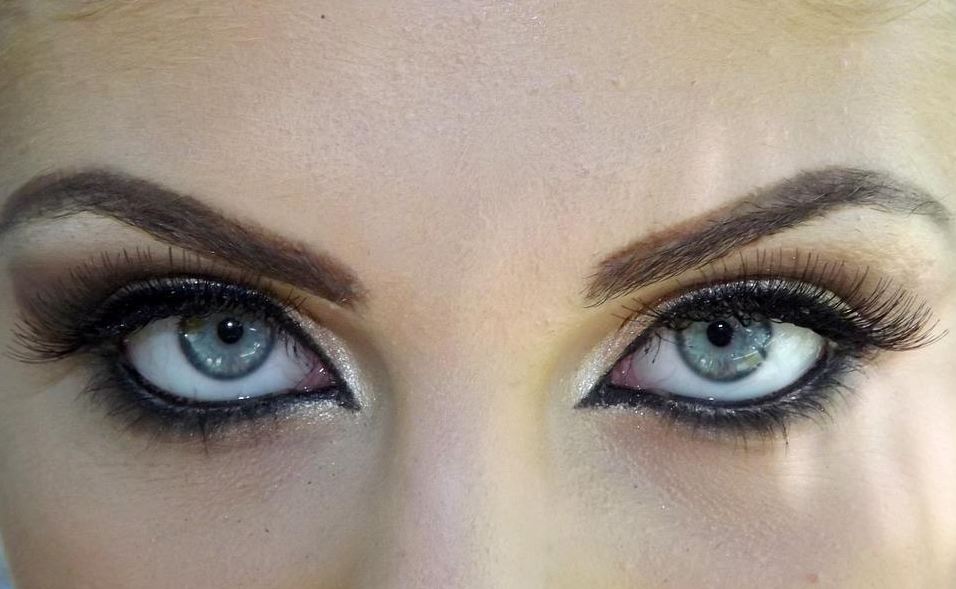
How Do You Repair Your Dried Out Eyeliner?
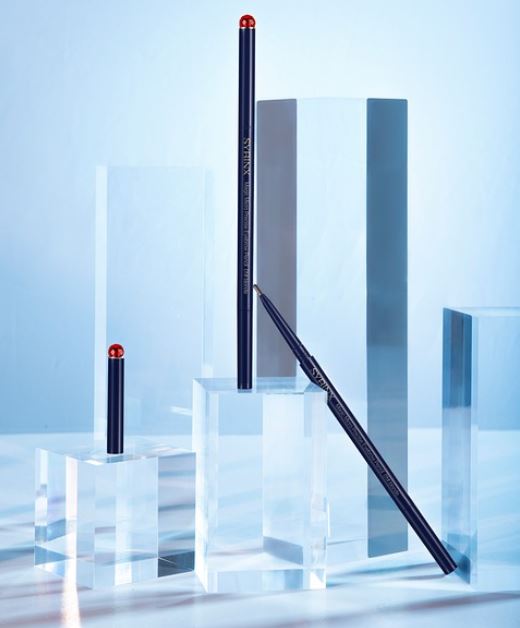
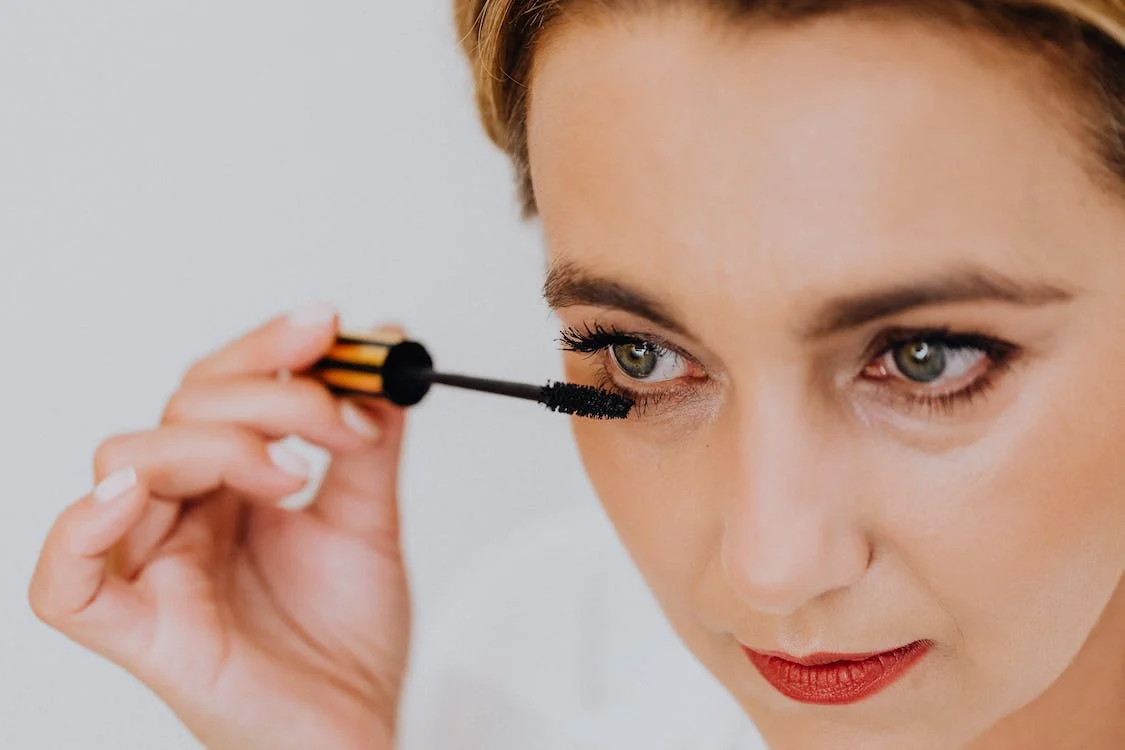
For a variety of reasons, your liquid eyeliner may have dried out. It is caused by a combination of factors such as heat, moisture, and air. If an eyeliner has dried out, its shelf life may have expired. If your liquid eyeliner hasn't reached the end of its shelf life, don't throw it away. Remember that the quality of your cat eye is only as good as the liner you use to create it. Liquid liner pens are a popular choice due to their opacity, precision, and portability (unless you're a die-hard brush/gel user).
The same complaint about these eye-winging instruments drying up too quickly, however, applies to all types of liners. Most of the time, you don't have the time to get rid of them and replace them. Another option is to do-it-yourself with a quick fix and save your money.
10 Ways to Restore Dried Out Eyeliner
1. Perform a Manual Reboot
This simple tip will help you revive a dried-out felt-tip liner. If you're having trouble getting your felt-tip liquid liner to function, try pressing the tip of the pen against the back of your hand for a few seconds and keeping it there for a few seconds, as recommended by the manufacturer. "It's possible that the eyeliner simply needed a reboot, but if nothing comes out, it's usually an indication that the pen has run out of pigment and it's time to get a new one."
2. The Roundabout
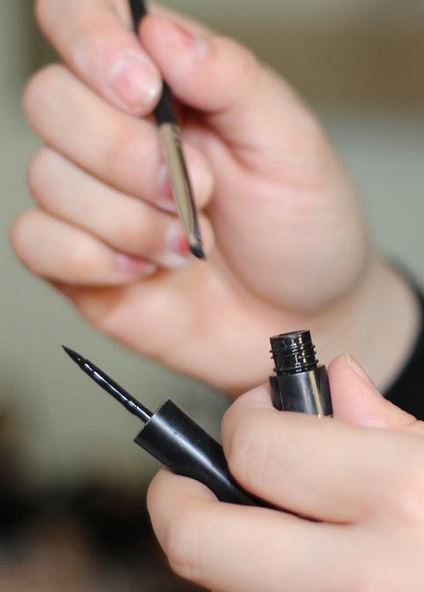
This is another obvious option, but it may be wasteful. Apply the eyeliner tip to the back of your hand or inner wrist until the product shimmies out. When using a brush-tipped liner, you can be a little more aggressive. Running it over a dampened paper towel dampened with warm water may suffice for the felt-tipped ones. You don't want to dunk the tip directly into water or run it under a running faucet because this is only a temporary solution that may oversaturate the tip and make your liner too watery. Also, if that was a waterproof formula, it is no longer.
3. Utilize Warm Water
Warming pencils or liquid formulas with water should be done with caution. "Dip eyeliner in a cup of warm water or run it under the tap to warm it up and bring it back to life," recommends Lo as a method for revitalizing the eyeliner. It is estimated that it will take between three and five minutes for the eyeliner to start melting. It is important to remember to remove any extra water from [the eyeliner] by drying it with a paper towel before drawing on it. She goes on to say that another method that has a similar result is to cover it in a heated towel.
Take care not to overdo it, as you don't want to compromise the quality of your product.
4. Use A Blow Dryer to Warm Up
Another heat-related tip, according to Lo, is to use a blow dryer. This method is best for pencils that have become dull and clumpy and will not draw with gentle pressure. "Put the eyeliner on a towel and heat it with a blow dryer for five to ten minutes," suggests Lo. She also says that the dryer should be about six inches away from the washer. Then, "heat the eyeliner and sharpen the tip to make it look brand new."
5. Rehydrate the Rod
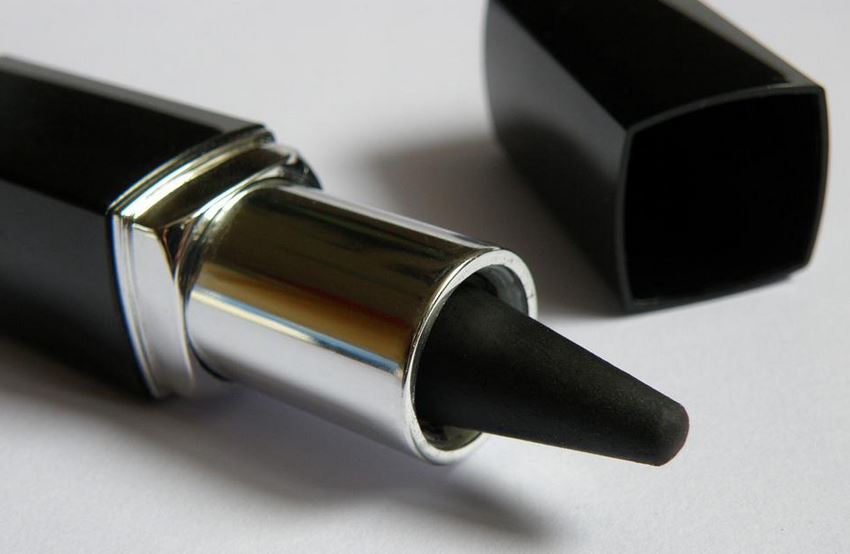
Bryant recommends removing the felt rod from the felt-tip liners and attempting to rehydrate it. Check to see whether the felt tip has dried out, and if it has, consider rehydrating it. This is especially important to do if your product is relatively new or hasn't been used very often. "You'll need to access the entire felt rod from inside the eyeliner pen to do this." Most components will unscrew at the end of the liner, and you can then pull the entire piece out with a tweezer."
When you remove the rod, the rehydration process begins: "To hydrate the rod, soak it in a glass of warm water for a minute or two," Bryant suggests. "Then, remove the rod from the water and dab it lightly dry before returning it to the pen." If the applicator tip was completely dry before rehydrating, you may need to trim it with cuticle scissors to return it to its original shape, which is important for getting that sharp line."
Although this method is more involved, when it works, it is extremely satisfying.
6. Pour in The Coconut or Jojoba Oil
According to Lo, this technique works best with gel eyeliner. She advises going slowly and "only adding one drop at a time, as too much oil will make the eyeliner smudge too easily when applying it."
After you've added your oil, Lo recommends poking holes in the formula with a toothpick to allow the oil to sink in. Afterward, put the cap back on and let eyeliner sit overnight so that it's ready to go in the morning.
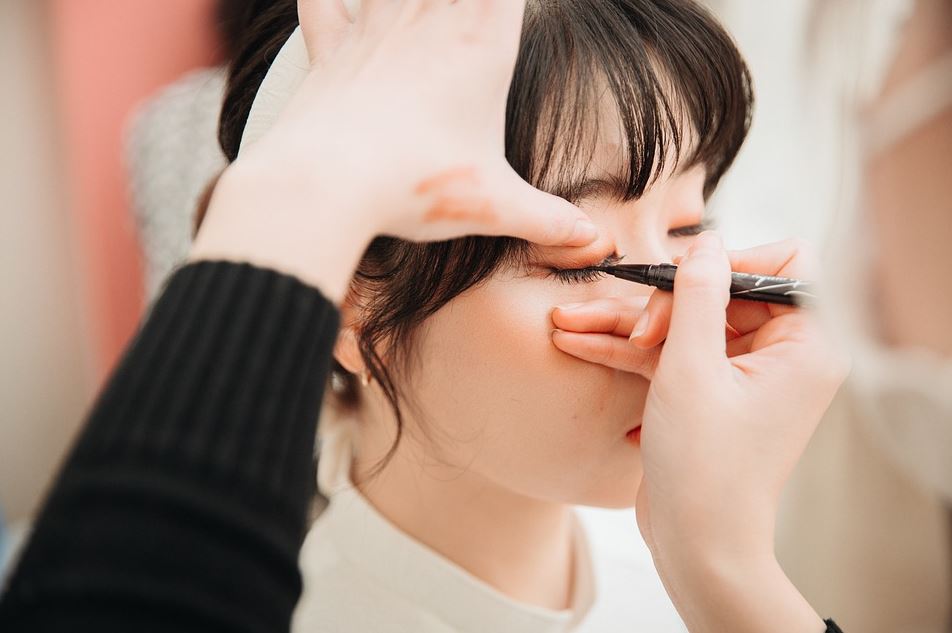
7. Regularly Sharpen
Lo recommends sharpening pencil eyeliner on a regular basis. "Sharpening a pencil eyeliner on a regular basis will help keep it moist." If only the tip is drying out, draw with it on a paper towel to remove the top layer if that appears to be the problem."

8. Rub it
This is another obvious option, but it may be a waste of time and money. Squirm out the eyeliner tip with your inside wrist or the back of your hand. You can be a little more daring if you use a brush-tipped liner.
The felt-tipped ones can be cleaned by rubbing them with a warm-water-soaked paper towel. Because this is only a temporary solution that could oversaturate the tip and make your liner too wet, you should avoid immersing it in water or running it under a running faucet. That formula, as far as I know, is no longer waterproof.
9. Moisturizer
Remove the dried out cream-based color eyeliner slowly, taking care not to ruin the product's color. To achieve a softer look, add a drop or two of your favorite unscented body moisturizer to the eyeliner brush. Liner can be resurrected by thoroughly mixing it with a brush.
10. Shake it
Can you hear a ball bearing inside your pen? That's a nice change of pace. If you haven't already, shake your eyeliner pen before applying it to help the product come out more easily. Brush-tip eyeliners are more likely to contain this ingredient than felt-tip eyeliners.